How to Program Arduino FPGA
FPGAs with Arduino, like MKR Vidor 4000, enhance electronics prototyping with high flexibility, real-time processing, and customization for diverse applications.
With the rapid development in various fields, like the Internet of Things and artificial intelligence, Field-Programmable Gate Arrays are becoming very important in deciding the future of electronics. Their flexibility and falling costs have turned FPGAs into a critical element in many sectors, especially when integrated with the ease of use of Arduino platforms. FPGAs are integrated circuits that can be programmed to do complex tasks; thus, they offer the capability to meet specific needs for diverse applications. This article will take you through a step-by-step process in programming an Arduino FPGA, focusing on the Arduino MKR Vidor 4000, and explore the wider ramifications of this powerful combination in electronics.
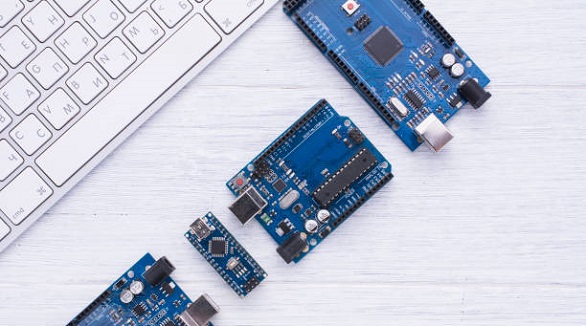
Arduino boards have been known to be simple in nature and hence allow both beginners and pros to do electronic prototyping. It is open-source, and the number of users contributes greatly to the improvement of the continuous library development of the different projects that can be realized using it. With this, Arduino is good for rapid prototyping since there is much flexibility in connecting diverse sensors and actuators.
On the other hand, FPGAs have huge processing power due to parallel computation. Unlike general microcontrollers based on sequential executions, FPGAs have programmable logics where lots of tasks can be routed to run parallel to each other. Thus, this makes it applicable to real-time applications with high performances. Moreover, their flexible reprogramming allows rapid adaptation to be performed on any new task. For this reason, FPGAs are turning essential for dynamic environments.
The marriage of ease from Arduino and the strong capabilities of an FPGA make for a really powerful platform. And that is exactly what Arduino MKR Vidor 4000 achieves by having an FPGA with several standard interfaces to let users attack complex projects right out of the box.
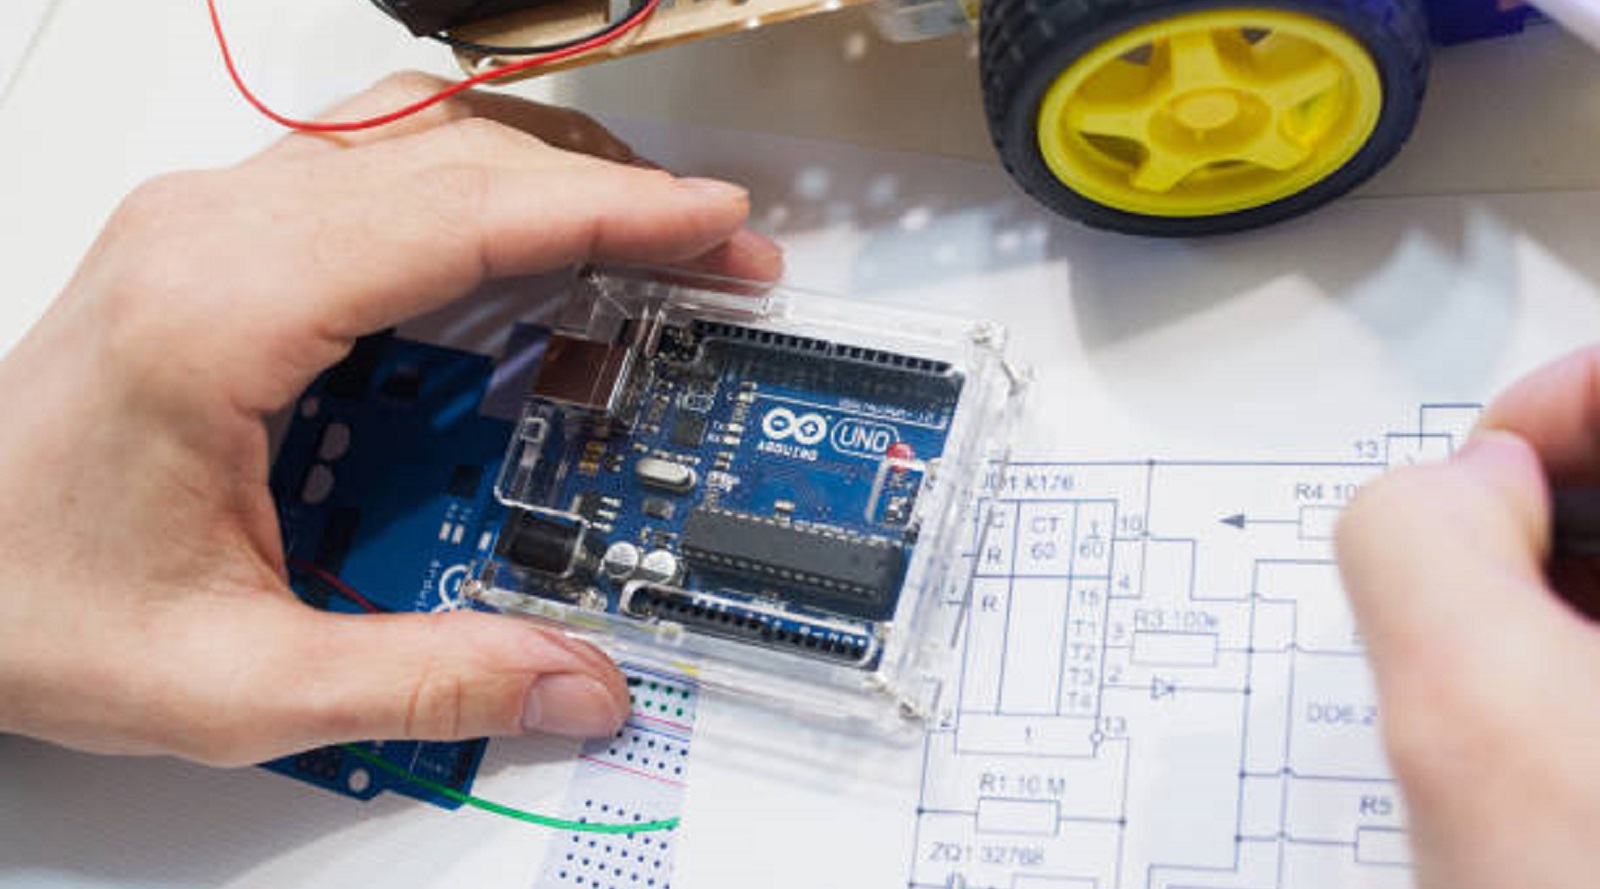
Setup Your Development Environment
Step 1: Installation of Arduino IDE
First and foremost, one needs to install the latest available version of the Arduino Integrated Development Environment for programming an Arduino FPGA. The IDE acts as the main tool for writing, compiling, and uploading code to Arduino boards. It can be downloaded directly from the Arduino website.
Step 2: Installing Required Cores and Libraries
To get your FPGA up and running, you'll need to add the additional support in Arduino IDE. Open Tools > Board > Board Manager and search "MKR Vidor 4000" to download the board package. There are some other libraries that will be quite useful when working with the FPGA, such as VidorBitstream. Those can be installed through **Sketch > Include Library > Manage Libraries**.
Step 3: Configuration of Your FPGA with Bitstreams
Bitstreams are binary files that configure the logical elements within an FPGA to perform certain tasks. In the case of the Arduino MKR Vidor 4000, there are some precompiled bitstreams that simplify the configuration. These can be found in the installed libraries and give a good starting point for beginners.
Arduino and FPGA Connection
Using GPIO Pins
The connection of an FPGA to an Arduino can be done via GPIO pins. This may involve identifying the correct communication pins on both devices and connecting them with jumpers or a custom PCB. In this way, the FPGA and the Arduino board can communicate directly and drive each other.
Using Shields
Another good option is to use FPGA shields that are the prebuilt modules designed for adding new capabilities to Arduino boards. Shields will provide sockets by which the FPGA can be directly interfaced with the Arduino hence facilitating connection and now the user needs to think only about the programming and the development of the application.
How to Program Arduino FPGA
Step 1: Installation of Software and Hardware
The key before starting the programming is ensuring the Arduino IDE has been set up with the FPGA board support package. Connect your Arduino MKR Vidor 4000 to your computer with a USB cable and get ready to write code and deploy it on your board.
Step 2: Create a Hardware Design Using HDL
One essential step in any FPGA programming involves the creation of an exacting hardware design using one of the languages of HDL, either Verilog or VHDL. HDLs give the possibility of describing, at a programmatic level, the behavior and structure of digital circuits. You would create, simulate, and validate your designs using design tools like Xilinx Vivado or Quartus II. You need to define inputs, outputs, logic operations, and how these are interconnected so your circuit works in the way that you want it to. Upon completion, save your design in a Verilog or VHDL file.
Step 3: Write and Compile the Application Code
In the Arduino IDE, write the application code in the simplified Arduino programming language, which is an abstraction of C++. This should include commands for the different components in your circuit. The compiler that comes with the IDE will check for syntax errors and compile the code for deployment. If there are any errors, fix them before proceeding to the next step.
Step 4: Upload the Program to the FPGA
Having compiled your code, upload the code to the FPGA through the Arduino IDE by going to Sketch > Upload Using Programmer. This actually downloads the program onto the FPGA and readies it for execution.
Step 5: Testing and Debugging
Testing is necessary to ensure that the program works correctly. Connect the sensors, actuators, or other components required to the FPGA and see if the outputs are as expected. If not, go back and check your code and hardware connections for any mistakes or changes that need to be made.
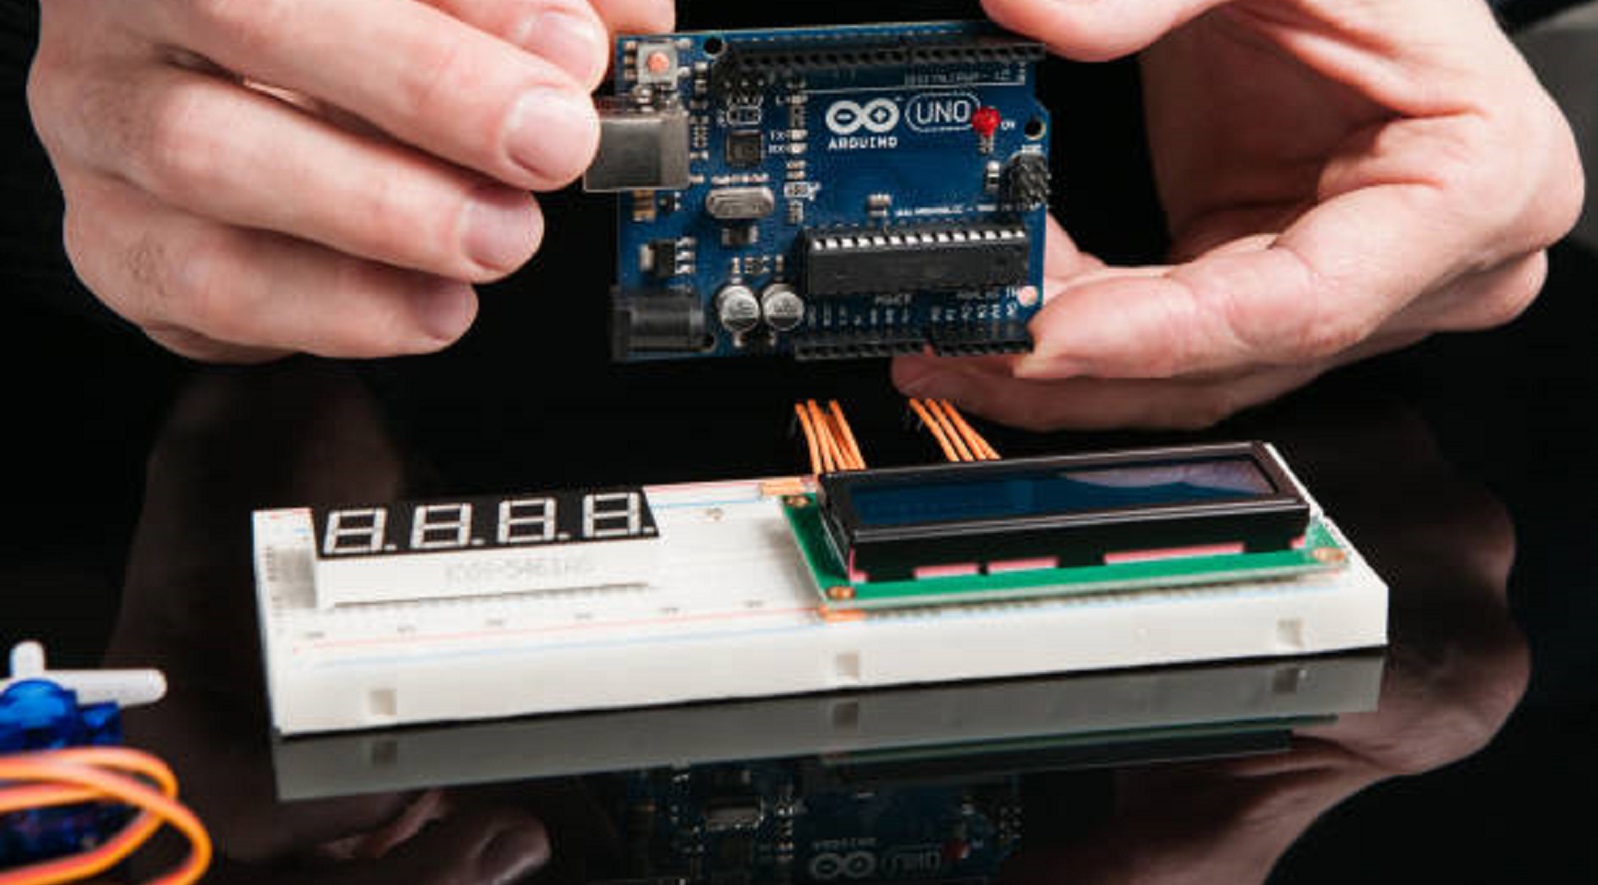
Implications and Applications of Arduino FPGA
In addition, Arduino integrated with FPGA will open a wide door to numerous advanced applications, making things beyond imagination possible. Here are a few implications and possible uses:
Improved Performance
This parallel processing makes FPGAs very suitable for computationally intensive applications. Combined with Arduino, a developer is able to build complex systems that can carry out complex computations and make decisions in real time. These range from machine learning models to extensive data analysis.
Customizability
Operations processing is highly flexible, easily allowing users to customize operations. That would mean it can be tailored for a specific application: implement a custom encryption algorithm, for example, or data compression. Capable of such adaptability, FPGA complements the versatile prototyping environment of Arduino, enabling developers to optimize systems against unique requirements.
Real-Time Processing and Low Latency
FPGAs excel in real-time data processing, crucial for robotics, automation, and signal processing applications. They respond swiftly to inputs, enabling low-latency operations. For example, an FPGA can control robotic motors or process sensor data in real-time, offering quick reaction capabilities that are essential for dynamic environments.
Educational Value
Combining FPGAs with Arduino also creates huge educational possibilities. Students and hobbyists will be able to learn digital logic and programming while gaining hands-on experience with digital circuits. The open-source ecosystems of both Arduino and FPGAs provide a wealth of tutorials and sample projects, fostering a collaborative learning environment.
Challenges and Considerations
While the combination of Arduino and FPGA offers many advantages, there are certain challenges that need to be addressed:
Complexity: FPGAs are much more complex to understand than ordinary microcontrollers such as Arduino. Programming FPGAs involves specific skills that might not come as easy to beginners.
Consumption of Power: Generally, FPGAs consume much more power than the microcontrollers. This might make them more complicated in their configuration of a power supply.
Cost: FPGAs are usually pricier than the microcontrollers. Thus, they might be out of your budget for a project.
Size limitations: The FPGAs are much larger than microcontrollers, which makes them unsuitable for space-sensitive applications like wearable devices or pocket-sized devices.
However, despite the difficulties, adding Arduino with an FPGA is a worthwhile experiment for those willing to invest a lot of time in learning this more advanced technology-its flexibility-to-power ratio justifies the learning time.
High-performance digital logic coupled with the ease of Arduino development when programming an Arduino FPGA together enables it to change the paradigm for electronic design in opening a very broad field of applications across industry using sophisticated, real-time capabilities. This makes it pertinent that along with advancements in technology, innovation needs to be pursued using such powerful exploration and application tools in electronics such as Arduino FPGA. The endless possibilities of creating creative and impactful advancements on Arduino FPGA, whether it is for educational use, hobby projects, or for industry-grade applications.
Hot Tags:
Contact us

If you can't find what you're looking for, please contact us.
Article
Arduino boards like Uno, Mega, and Micro are user-friendly, cost-effective platforms for various projects, ideal for different I/O, size, and complexity needs.
Arduino Leonardo and UNO both excel in electronics, with Leonardo suited for HID and USB projects, while UNO is cost-effective for beginners and simple tasks.
Arduino Nano and Micro differ mainly in USB capability and I/O options, with Nano suited for simple projects and Micro for USB-intensive, compact applications.