- Products & Capabilities

- About
- Resources
How to Rework a BGA?


BGA packages enhance connectivity but pose rework challenges due to solder ball grids. Effective rework requires specialized tools, precision, and practice for safe removal and replacement.
Ball Grid Array packages play an increasingly important role with integrated circuits and CPUs, as their high-density interconnect capabilities are definitely in demand. However, the grid of solder ball connections on the bottom of BGAs creates great complications when attempting to perform rework on them. The need for effective methods regarding BGA rework techniques is necessitated to safely remove and replace BGAs without damage safely. This detailed reference guide will serve to cover the basics involved with BGA rework, key tools needed for such processes, and the step-by-step process direction.
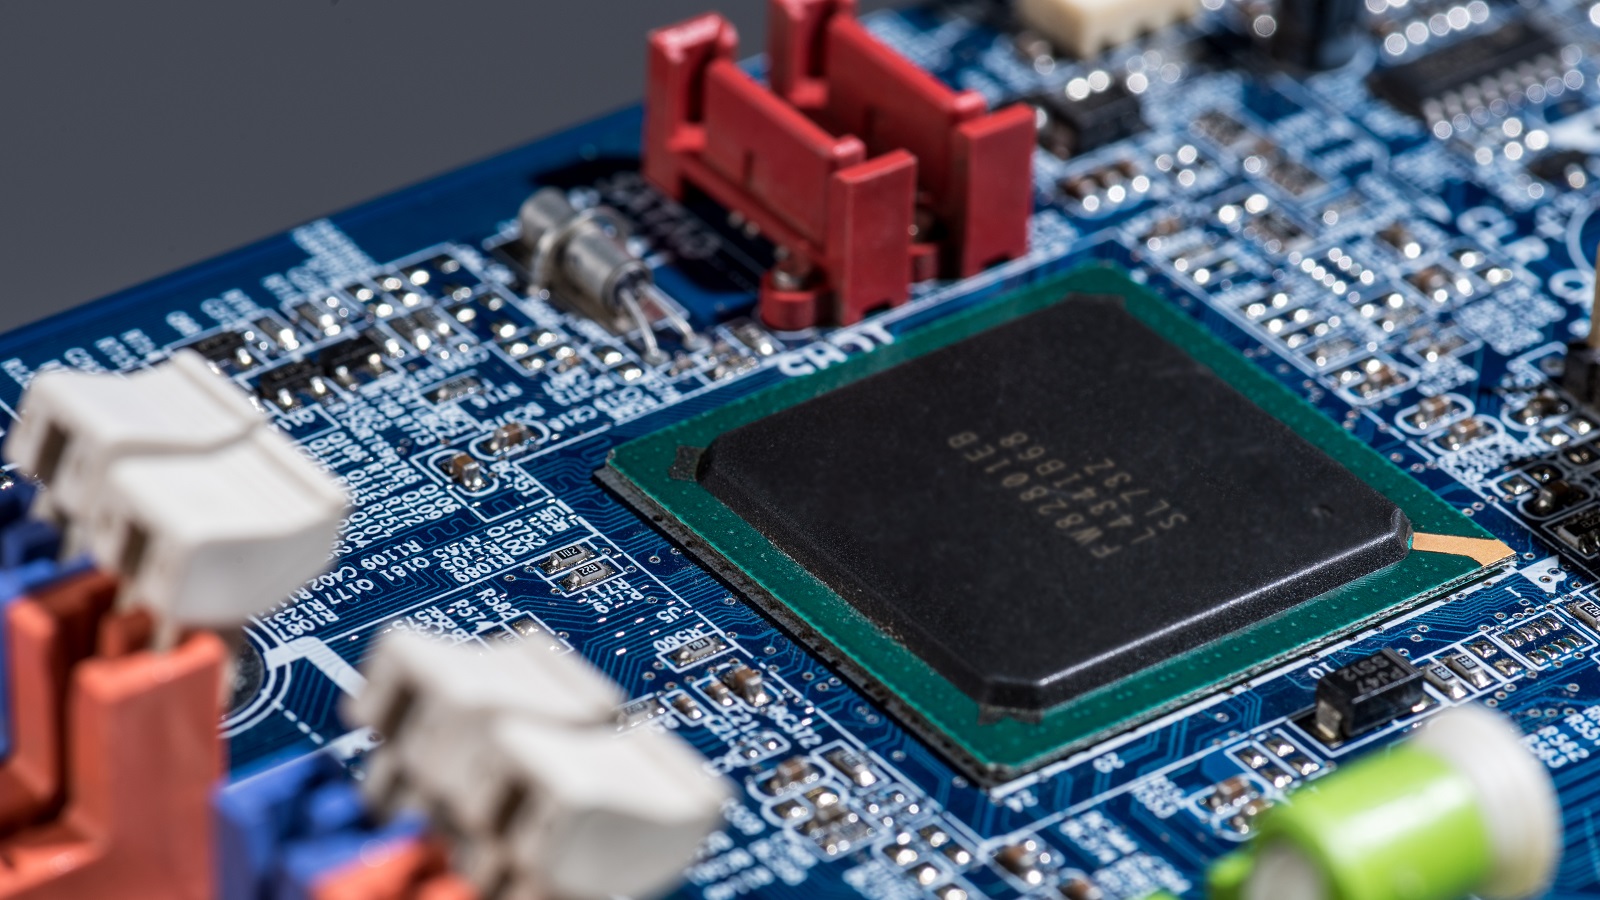
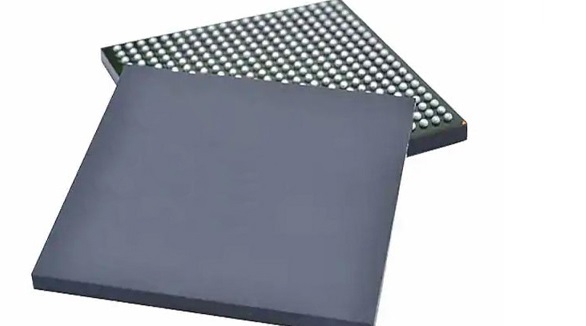
Understanding BGA Packages
BGA packages connect ICs to PCBs via an array of solder balls on the bottom side. They support dense grid arrays up to 35×35 mm package size BGA pitches as small as 0.5 mm I/O counts of more than 1,500 pins High-speed routing on the top layer of the PCB While offering such high performance, BGAs also offer a number of rework challenges including that the solder balls are inaccessible and the heat cannot be evenly transferred to all parts of the BGA.
The risk of mechanical shear force breaking the pad during removal. Replacing has to be done with pre-alignment work. Thus, the process and equipment for BGA rework are special.
Equipment Needed for BGA Rework
BGA Rework Station
A dedicated BGA rework station offers a tight temperature profile control and provides tools that offer the ability to manipulate BGAs easily:
Bottom preheater that supplies uniform heat to the board.
Top infrared heater and custom nozzles for heating the BGA in a localized way.
Microscope for detailed viewing during rework
Alignment and placement tools such as tweezers, spatulas, and pick-and-place tools
Soldering Station
The soldering iron used in the process has to be temperature-controlled within the range of 350-450°C for the reballing and touch-up of the solder joints. The fine tip size shall be less than 1mm.
Solder Paste
SAC305 lead-free solder paste-matched to the PCB's solder alloy-is intended to be used for the reballing of BGA pads.
Solder Balls
New solder balls are matched with properly sized and alloy-matched materials for the reballing of the BGA package.
X-Ray Inspection Equipment
X-ray imaging after rework ensures the correct formation of the blind solder joints underneath the BGA.
BGA Rework Process
Step 1: Site Preparation
Preparation is a must for successful BGA rework:
Position the work to be done in an ESD-safe environment by using a strapped wrist connected to a ground source.
Clean the target area thoroughly with isopropyl alcohol to free it from contaminants.
Apply liquid flux around the edge of the BGA to help improve the flow of heat during reflow.
Secure the PCB in the rework station and calibrate the viewing optics.
Step 2: BGA Removal
Removal of the defective BGA is done as below:
Align the preheating nozzle under the board's center.
Preheat the board to 150°C, soak for 1-2 minutes.
Position the top infrared heater nozzle about 1 mm above the BGA.
Set the top heater to 350°C and apply heat until the solder reflows at 220-250°C.
Soak the BGA at reflow temperature for 20~40 seconds to ensure the solder is in a liquid state.
At this point, when the solder has completely melted, use a pick tool to gently lift the BGA.
Tip: Make sure to move slowly, so as not to damage the pads; any remaining solder will stay on the pads.
Step 3 Site Redressing
Clean the rework PCB pads:
Employ solder wick braid and flux to remove the solder completely :.
Check for any damage or lifting using a microscope. Rewet any lifted pads using an iron. Make that part very clean by using isopropyl alcohol.
Step 4: Reballing
Reballing on the BGA involves: Application of little dabs of solder paste onto each pad using a stencil or dispenser. Location of a new solder ball onto each paste deposit match up to the BGA ball layout.
With the balls flat on the paste but not touching neighboring pads.
In placing, tack the balls in place with light heating above 150 °C, without full reflow.
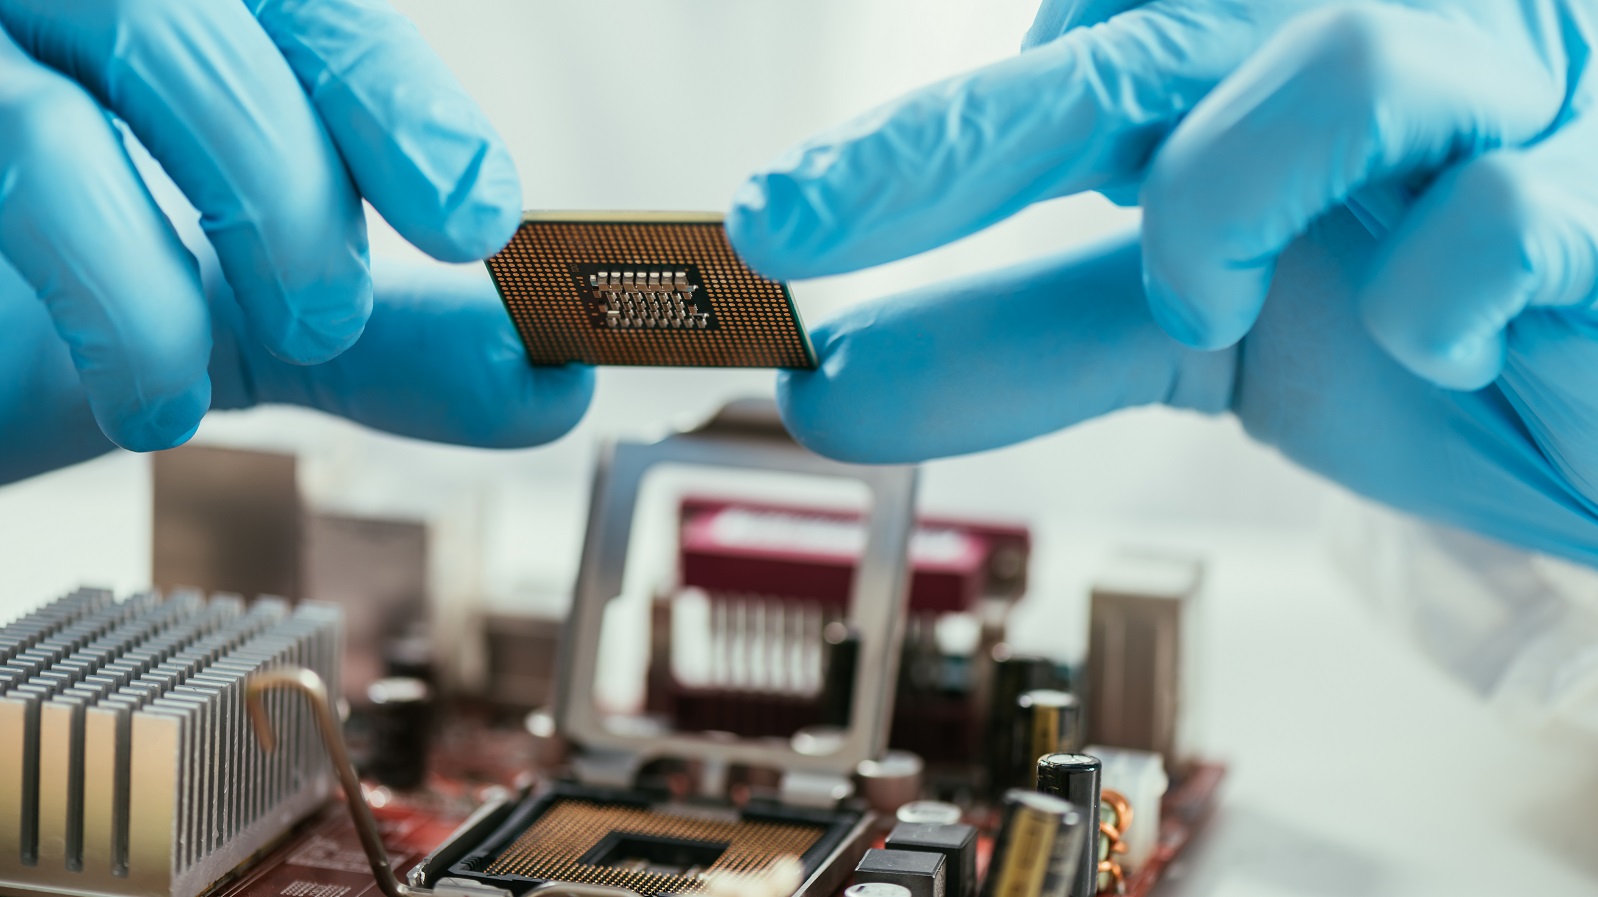
Step 5: Replacement
Position and solder the new BGA using your alignment and solder techniques described on the following lines.
Place the BGA with a pick tool; aligning fiducials.
Lower the BGA onto the pads, letting it self-center with gentle force.
Check to see that the solder balls contact the paste deposits.
Apply flux around the BGA perimeter.
Reflow the BGA with a thermal profile peaking at 250°C.
Let the assembly cool down to handle.
Step 6: Inspection
Visually inspect solder joints that are formed under the BGA:
Looking periphery joints for proper fillet formation visually.
X-ray photography, in order to confirm hidden solder joints underneath.
Confirm that the joints have taken shape without being short or open.
Document the rework, taking pictures when higher magnification is required.
Step 7: Testing
Verify that the reworked BGA operates as expected:
Specific actions may include:
In-circuit test the circuit if a fixture is available.
Apply power and test system functionality.
Run diagnostics and functional test routines as needed.
Test parameters that were out of specification before the rework.
Document electrical test results
Extensive functional testing is necessary to confirm that the BGA rework has been successfully completed
Common BGA Rework Issues
Even when correct procedures have been carefully performed, common issues occur with BGA rework:
Residue Cleaning: The residual solder and carbonized flux must be removed prior to reballing.
Pad damage: A possibility of tearing the pads or traces off, especially in soldering repairs.
Fine-Pitch Reballing: BGAs less than 0.8mm are challenging to deposit paste and place the balls.
Voiding: A condition where air gets entrapped within the solder joints when there is incomplete wetting, or flux boil-off.
Thermal Stress: overheating the board or elements around it due to repeated high-temperature cycles.
These difficulties are, however, restricted to intense training, fine tip tools, and routine practice in BGA Rework.
Conclusion
In fact, reworking BGA packages requires specialized heating equipment, precision with soldering techniques, and heavy practice. More about where one is applied-the average BGAs have no higher number of balls than 600, and many such BGAs can be reworked with these steps outlined. Some BGAs are bigger and more complex, and their rework may be outsourced to advanced facilities for bigger, more complex features. The ability to properly do in-house BGA rework allows effective repair of these difficult packages in many diverse applications.
Hot Tags:

Contact us

If you can't find what you're looking for, please contact us.
Article
Compared to THT, SMT offers better miniaturization and weight reduction in any electronic application. With the use of BGA packages, high-assembly density, reliability, and improved performance are achieved; on the other hand, this requires a rework and inspection that is not really common. PCBX specializes in the area of advanced SMT and BGA assembly to help drive modern requirements of compact electronic devices.
 2024/07/26
Ball Grid Array (BGA) components, such as PBGA, CBGA, CCGA, TBGA, and CSP, provide high I/O density, improved reliability, and high-quality electrical and thermal performance. Quality assembly and functionality are assured since advanced soldering and inspection methods are required, like AXI and AOI. Proper storage and handling shall guarantee the performance of the devices.
2024/07/26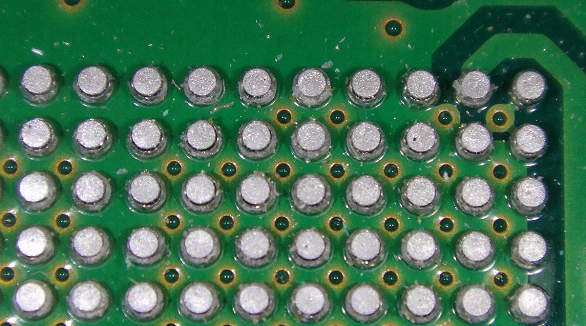
In the late 1980s, when electronics began to shrink, BGA packaging was developed to integrate more connections within a given area. Today, BGA is widely used with high-connection chips—processors being a good example. BGA uses solder balls at the bottom of the chip to connect it to the circuit board. It provides high density along with good heat dissipation and fast signal transmission, one of the main reasons it is ideal for modern electronics. However, it requires precise techniques of soldering in BGA manufacturing.
2024/07/24