PCB Kits
PCB kits are essential for hobbyists and students, offering all components to easily assemble and test functional electronics, enhancing practical learning.
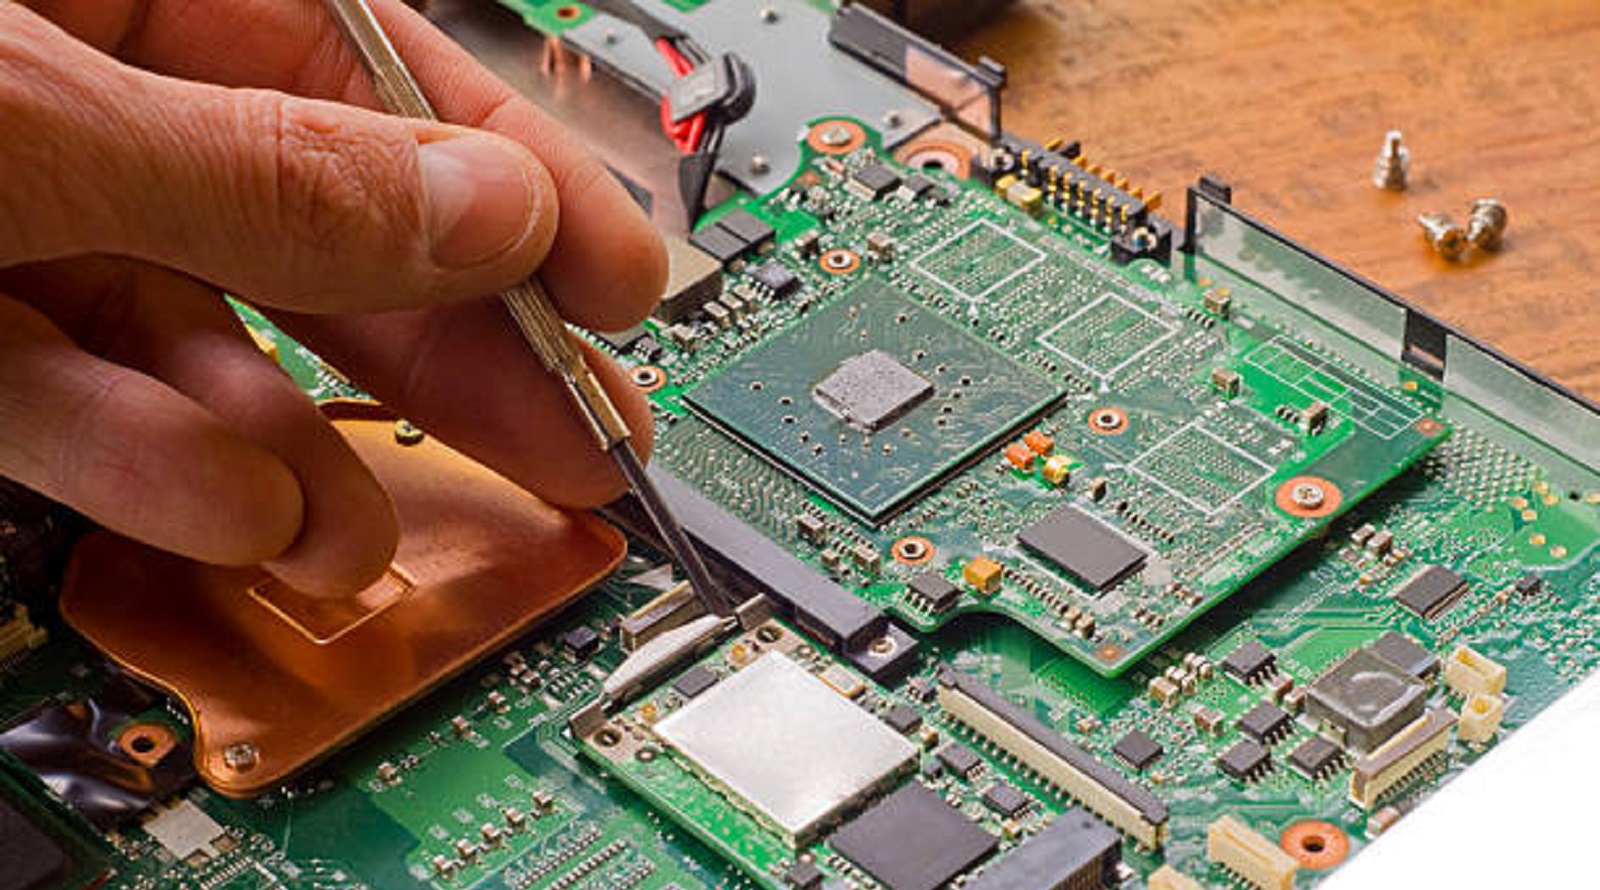
In the fast-changing environment of electronics, Printed Circuit Board kits have become very important for hobbyists, students, and amateur DIYers who would like to dive into the world of circuit design and assembling. Such kits provide everything necessary to make functional electronic devices, from concept to reality. The fact that it's literally as simple as just building a circuit without really complex fabrication or sourcing of components themselves makes PCB kits a pretty straightforward way in. This instructional guide will explain some key steps, tools, and techniques in successfully building a typical PCB kit-from initial preparation to final troubleshooting.
A PCB kit includes a ready-made printed circuit board with a set of required components like resistors, capacitors, and integrated circuits. These kits are designed to enable end-users to assemble and test electronic projects with ease. They are tailored to support learning in Science, Technology, Engineering, and Mathematics fields, offering an intuitive approach to understanding electronics by direct, hands-on experience.
Understanding Kit Documentation
The first step in working with a PCB kit is to thoroughly review the accompanying documentation. Each kit provides detailed instructions including:
Board Visual: Provides a reference for component placement.
Schematic: Presents the circuit diagram, illustrating how components connect.
Bill of Materials (BOM): Lists all included components.
Assembly Instructions: Provides a step-by-step guide for building the kit.
Theory Overview: Explains the functionality of the circuit and the principles of its operation.
Knowing your materials in advance will help you understand what is needed and how the project works before beginning assembly, which is the basis for smooth and effective build processes.
Sorting and Identifying Components
One very crucial preparatory step involves arranging the components according to the BOM. Check that all items are of the specified quantity and type and conform to the list. Sorting the components in categories, like all the resistors, capacitors, and diodes, can save lots of time while assembling. Use small plastic containers or trays for part storage to keep parts sorted and at your fingertips.
Tools and Preparation
Before beginning the soldering process, set up your workspace with the necessary tools for assembly:
Soldering Iron and Stand: Essential for soldering components onto the PCB.
Thin Gauge Leaded Solder: Facilitates precise soldering.
Flux Pen and Solder Braid: Helps ensure clean, reliable connections.
Flush Cutters and Tweezers: For trimming leads and positioning components.
Magnifying Glass: Assists in detailed work and inspections.
Multimeter: Useful for testing electrical connections.
Safety Glasses: Protects your eyes during soldering.
Clean your work area free from junk and ensure that the area is well lit to prevent losing small components or making errors in their assembly.
Soldering Techniques
Soldering is one of the key techniques in PCB assembly; when mastered, it provides a working and robust circuit. To begin with,
Identify Orientation Markers: Check for orientation on every component before soldering.
Pre-Tin Pads: Put a small blob of solder on one of the pads, then insert the component.
Anchor Components: The solder joint is heated and the other pad is attached.
Check for Defects: The defects include shorting, cold joints, and solder bridges.
Patience and delicacy are required. Speed may result in error in the process or maybe damaging to the component. Beginners may start with the larger-sized components and, as their skills improve, do the more intricate jobs.
Mount Sensitive Components
Some of the other components to be attached most carefully are:
ICs and Sockets: Try to avoid excessive heat when soldering ICs directly; use sockets if possible.
Electrolytic Capacitors: Be mindful of polarity, making sure the longer lead (positive) is correctly placed.
Diodes: The body stripe should be aligned with the PCB symbol for correct orientation.
Connectors: Make sure they sit flush on the board before soldering.
Final Assembly and Troubleshooting
After soldering, perform the following checks before powering the circuit:
Visual Inspection: Verify all components are properly seated and oriented.
Continuity Checks: A multimeter to check connections and ensure no shorts exist.
Reference Comparison: Compare the finished board layout against reference diagrams.
If the board does not function as expected, systematic troubleshooting can isolate problems:
Power Validation: Check voltage at key terminals.
Thermal Checks: Hot components indicate possible shorts.
Resistance Measurements: Readings should be compared to the expected values from the schematic.
Isolation Testing: Test validated sub-circuits independently.
Troubleshooting does not only resolve immediate problems but also deepens understanding, enhancing your ability to refine future projects.
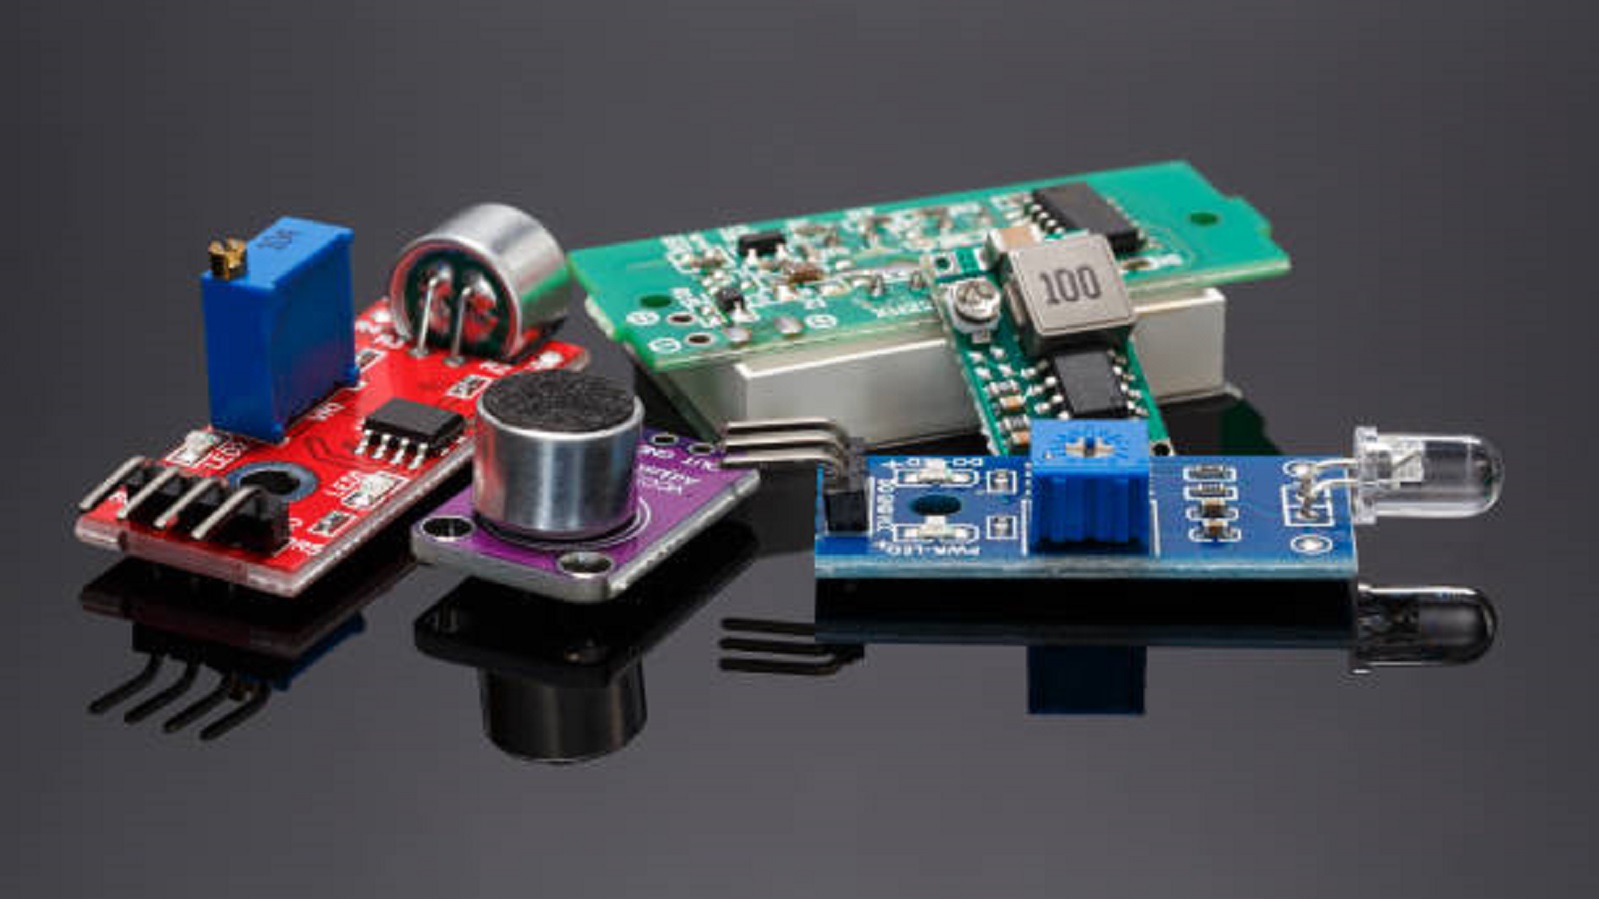
Building a PCB kit develops an all-around experience in electronics, from theoretical knowledge to hands-on practice in the assembly and debugging of the board. The skills learned can be applied directly to modifying existing products or creating new circuits, fostering innovation and technical competence.
From retro gaming kits to highly advanced robotics projects, the possibilities of learning and creativity are immense. Even the creation of simple circuits imparts an understanding that far surpasses the use of preassembled boards. Both amateurs and students alike embrace challenge and creativity as they bring their electronic vision to life with a PCB kit, adding to the vibrant community of makers and innovators.
Hot Tags:
Contact us

If you can't find what you're looking for, please contact us.
Article
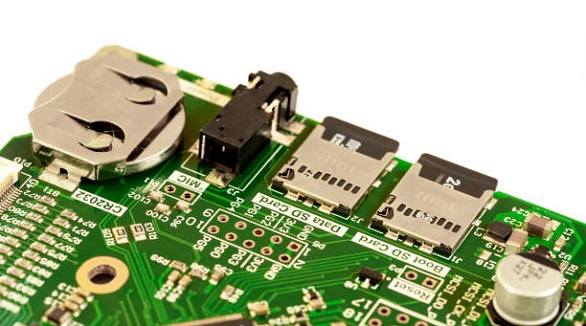
PCB edge mounting optimizes space, enhances modularity, and improves connectivity by placing connectors on board edges, aiding in flexible, efficient system design.
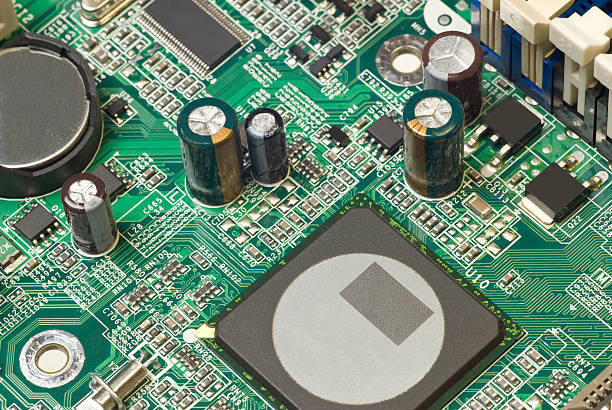
PCB corrosion degrades material, disrupts connectivity, and increases resistance. Prevent it with coatings, quality materials, and regular maintenance.
Backdrill in PCBs removes stubs in vias to improve signal integrity and impedance control, crucial for high-frequency, multilayer boards. It’s vital in communication, servers, medical, and aerospace applications.
